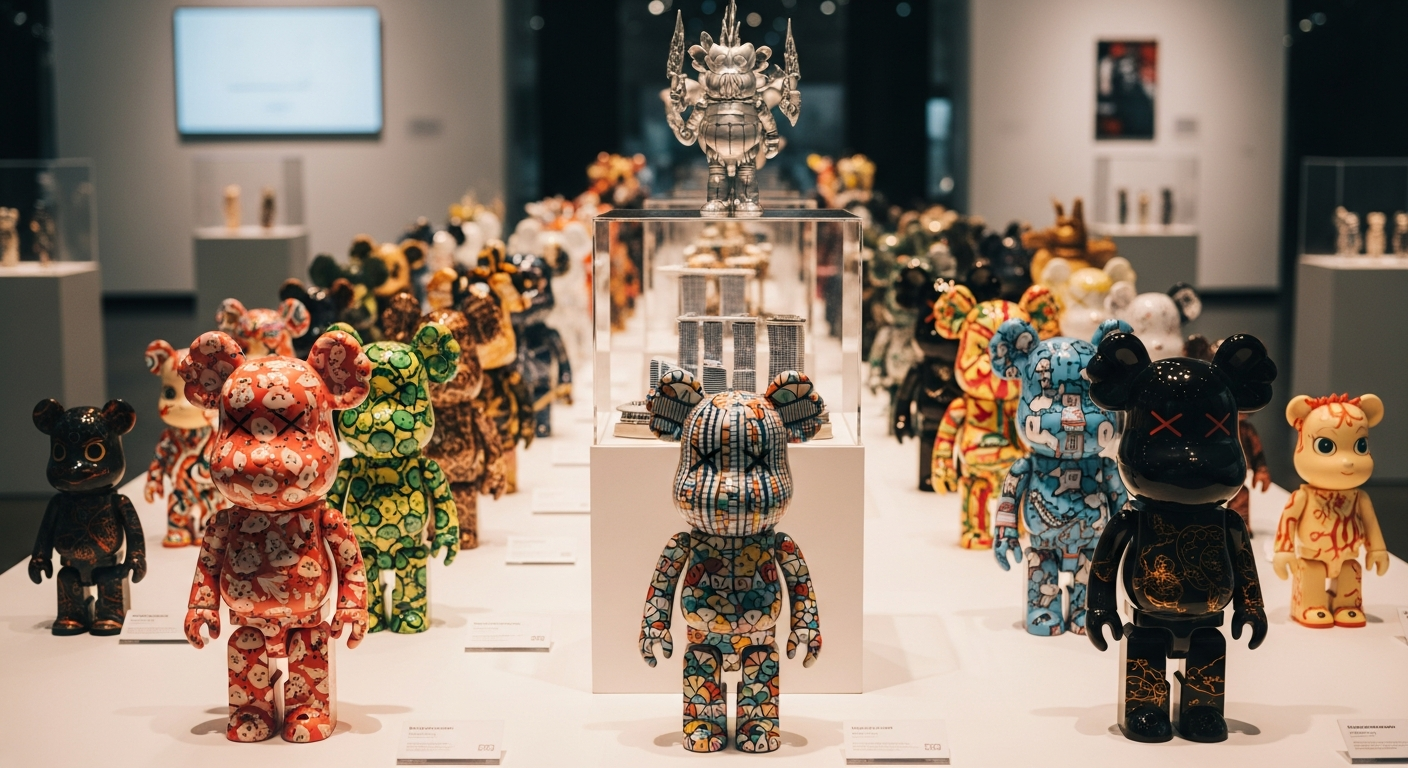

In 2026, art toys continue to blur the line between collectible design and miniature sculpture. The rise of accessible CAD workflows and faster local prototyping means designers in Singapore and beyond can iterate at studio speed while maintaining production-quality detail. Whether you’re creating limited-run vinyl-style figures or highly detailed resin collectibles, CAD modeling and digital fabrication change what’s possible: faster prototyping, precise joints, predictable injection-mold tooling, and scalable finishing pipelines.
This article examines practical CAD techniques, prototyping paths, materials, and current trends that matter now for art toys. It emphasizes actionable steps for designers working in Singapore’s ecosystem and points to local services that speed development — from fast FDM prototyping to bespoke figurine production.
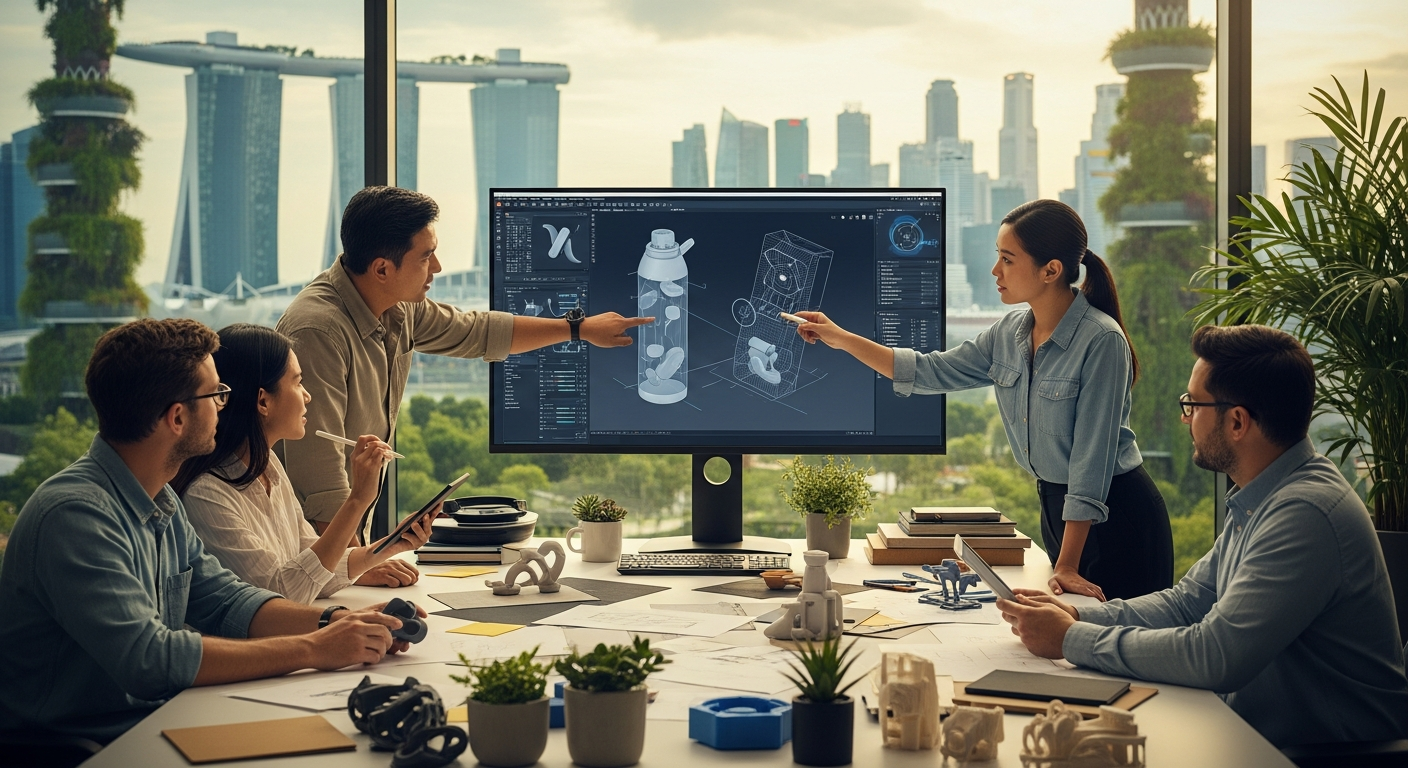
CAD modeling is the backbone of modern toy design because it provides repeatable precision. Organic sculpts and hard-surface elements can be combined into assemblies with reliable tolerances, which simplifies painting, printing, and eventual tooling. For collectible runs, CAD files become the single source of truth for revisions and manufacturing.
Key advantages:
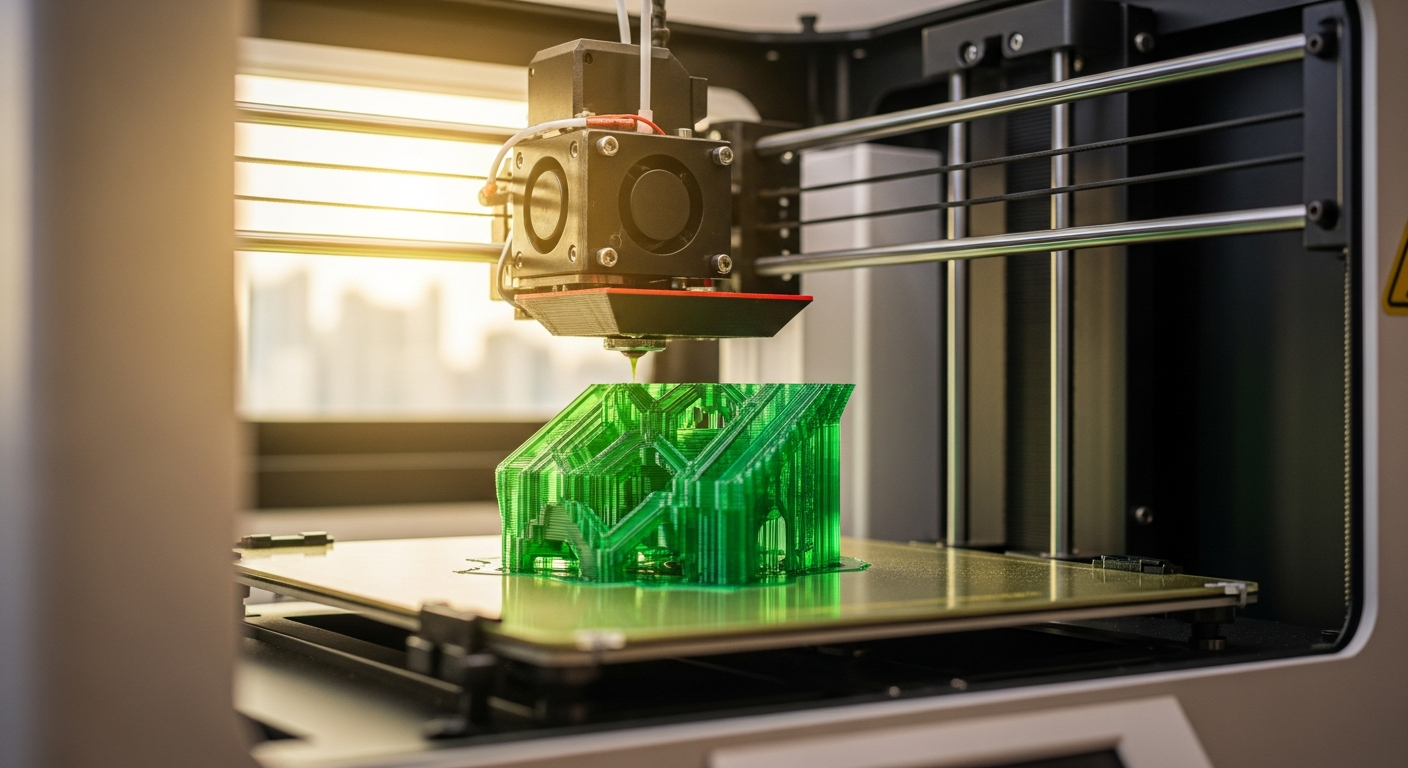
Local prototyping services in Singapore accelerate that loop: designers can validate mechanics with fast FDM 3D printing for rapid prototyping and move confidently to resin or tooling as needed.
Start with sketches and mood boards to lock the silhouette and scale. Silhouette sells the toy on shelves and in photos; treat CAD as a tool to preserve that shape while allowing engineering refinement.
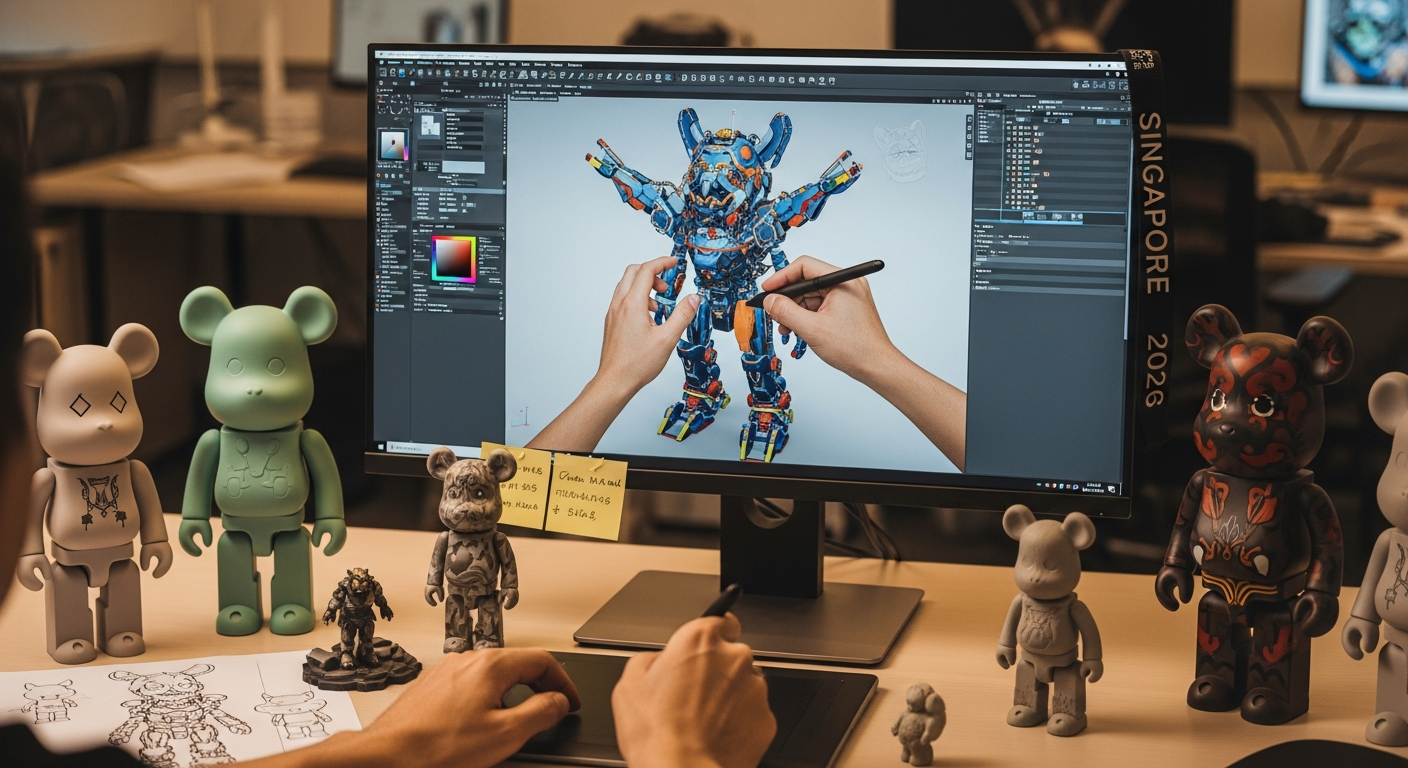
Create low-resolution block models in Blender, Fusion 360, or Rhino to finalize major volumes and articulation points. At this stage, define joint centers and the range of motion.
For character detail, use ZBrush or Blender sculpting workflows. Many designers import a high-res sculpt into CAD as a reference for retopology or to generate texture maps for 3D printing.
Retopo the sculpt for printable topology or convert to subdivision-friendly meshes. For mechanical parts (pegs, sockets, internal frames), use parametric CAD (Fusion 360, SolidWorks). Parametric parts make tolerances and assembly features editable.
Hollow parts to save material and reduce print time, and add drainage/vent holes for resin printing. Use consistent wall thickness rules (dependent on process and material) to avoid brittle features.
Use your CAD package to assemble parts, check clearances, simulate motion, and export parts separately with orientation notes for printing and supports.
Export in the appropriate formats (.STL for printing, STEP for tooling). For mass production, provide CAD STEP files to tooling vendors and keep the printable STL for short runs.
Designers in Singapore often loop these steps with local studios offering specialist services such as best custom 3D printing for collectible art toys to validate finishes and surface quality before committing to tooling.
Which process you choose depends on finish, detail, and run size:
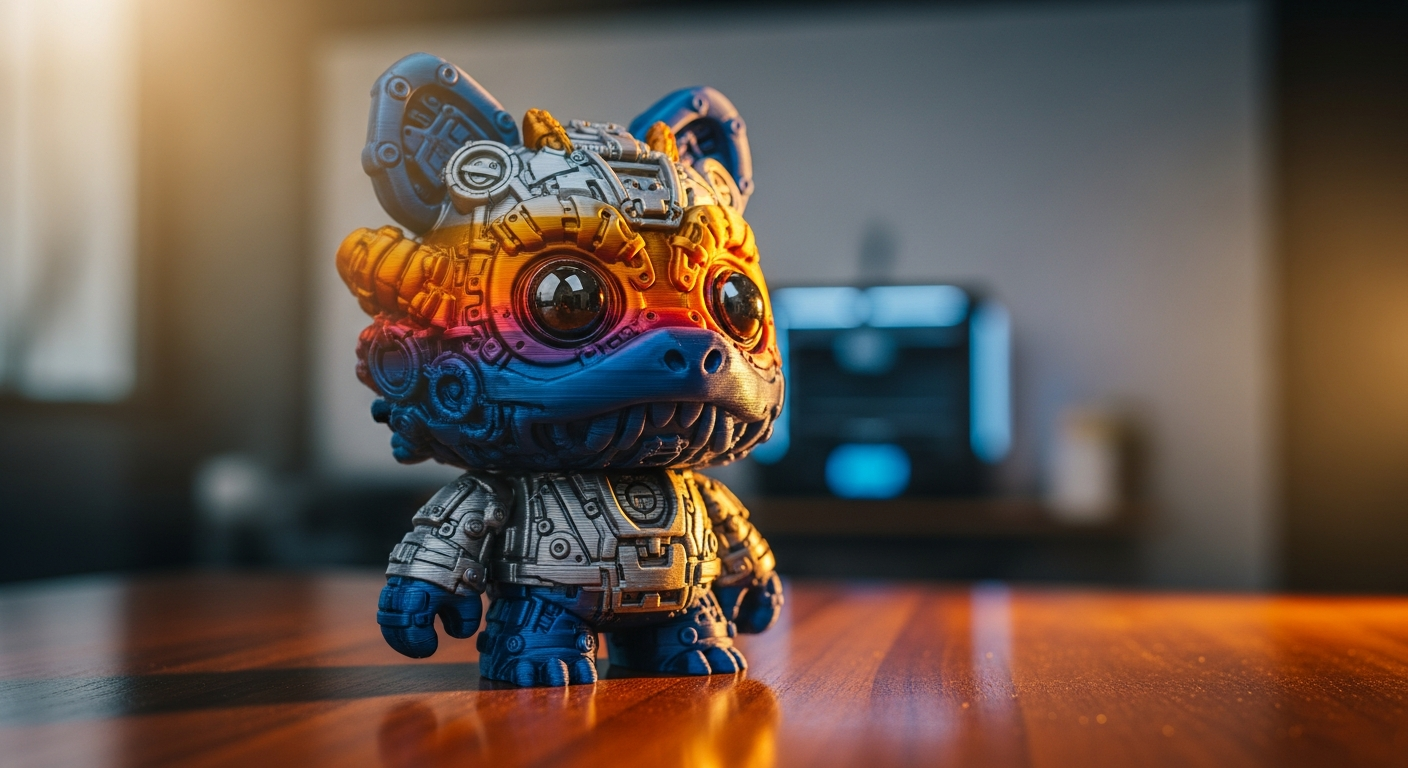
For nuanced finishes, consider a resin print master for silicone molding and resin casting when runs are small (tens to low hundreds). Many designers pair a resin master with professional finishing services to achieve a vinyl-like feel.
If you’re redistributing to collectors, materials and finishes matter. Services providing bespoke product design for custom figurines can assist in choosing materials and finishing paths to match your vision.
Good CAD preparation saves time and money later. Important practical points:
For full production-ready preparation, exporting STEP files to the manufacturer is standard. For short-run or print-on-demand production, keep optimized STLs ready. Studios offering custom figurine design Singapore 3D printing service can help convert CAD to production formats and advise on finishing workflows.
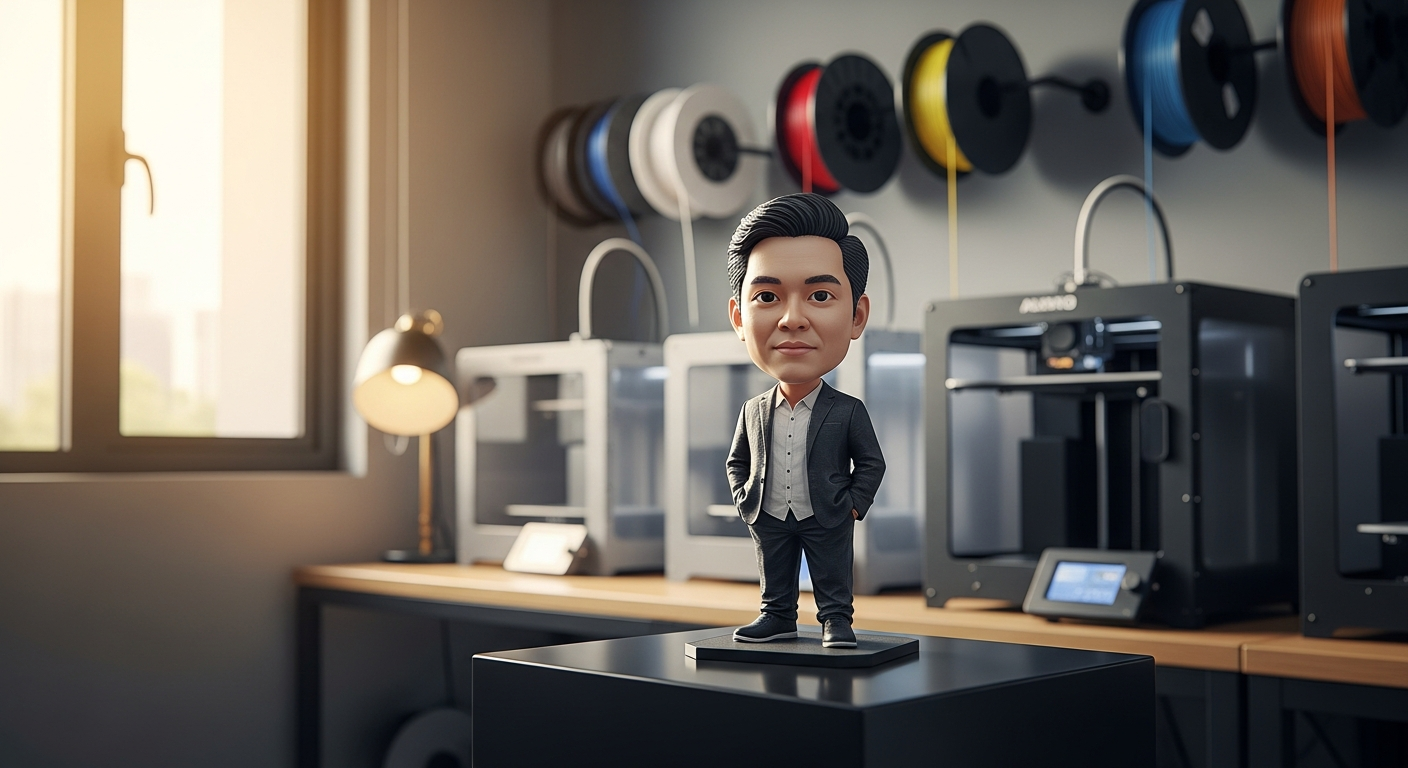
Partnering with local fabrication services shortens lead times. For example, printed prototypes via custom figurine design with FDM 3D printing can be produced within days to validate mechanics before committing to longer-lead tooling.
Singapore’s proximity to advanced fabrication hubs and a growing maker culture fuels early adoption of these trends. Designers who combine smart CAD practices with local prototyping partnerships can rapidly convert experiments into market-ready collectibles.
CAD modeling has transformed the art toys workflow: it enables precise engineering for articulation, predictable finishes for collectors, and smoother scaling from prototypes to production. In 2026, combining parametric CAD with rapid local prototyping and a clear plan for finishing will let designers produce standout, collectible art toys more efficiently than ever. By pairing strong digital workflows with local services and the latest material options, Singapore-based creators can iterate quickly and deliver high-quality products that compete globally.