
The revolutionary world of 3D printed art toys has democratized creative expression, allowing artists and hobbyists to bring their imaginative characters to life without traditional manufacturing constraints. This comprehensive tutorial will guide you through the complete process of creating your first 3D printed art toy, from initial concept development through final finishing techniques that rival professionally manufactured collectibles.
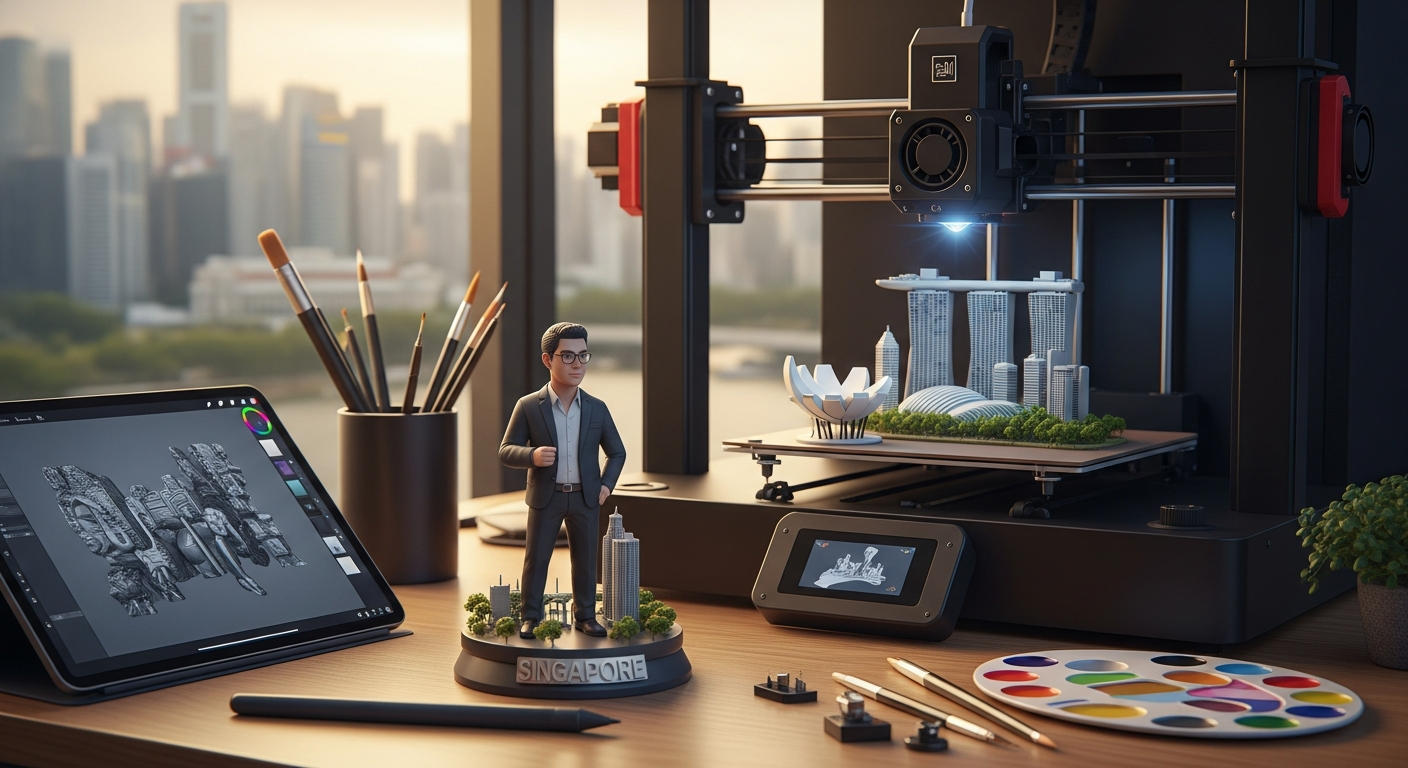
3D printing technology has transformed the art toy landscape by eliminating barriers that previously limited creation to established manufacturers with significant capital investments. Today, independent artists, small studios, and passionate hobbyists can produce museum-quality custom figurines using desktop 3D printers and accessible software tools.
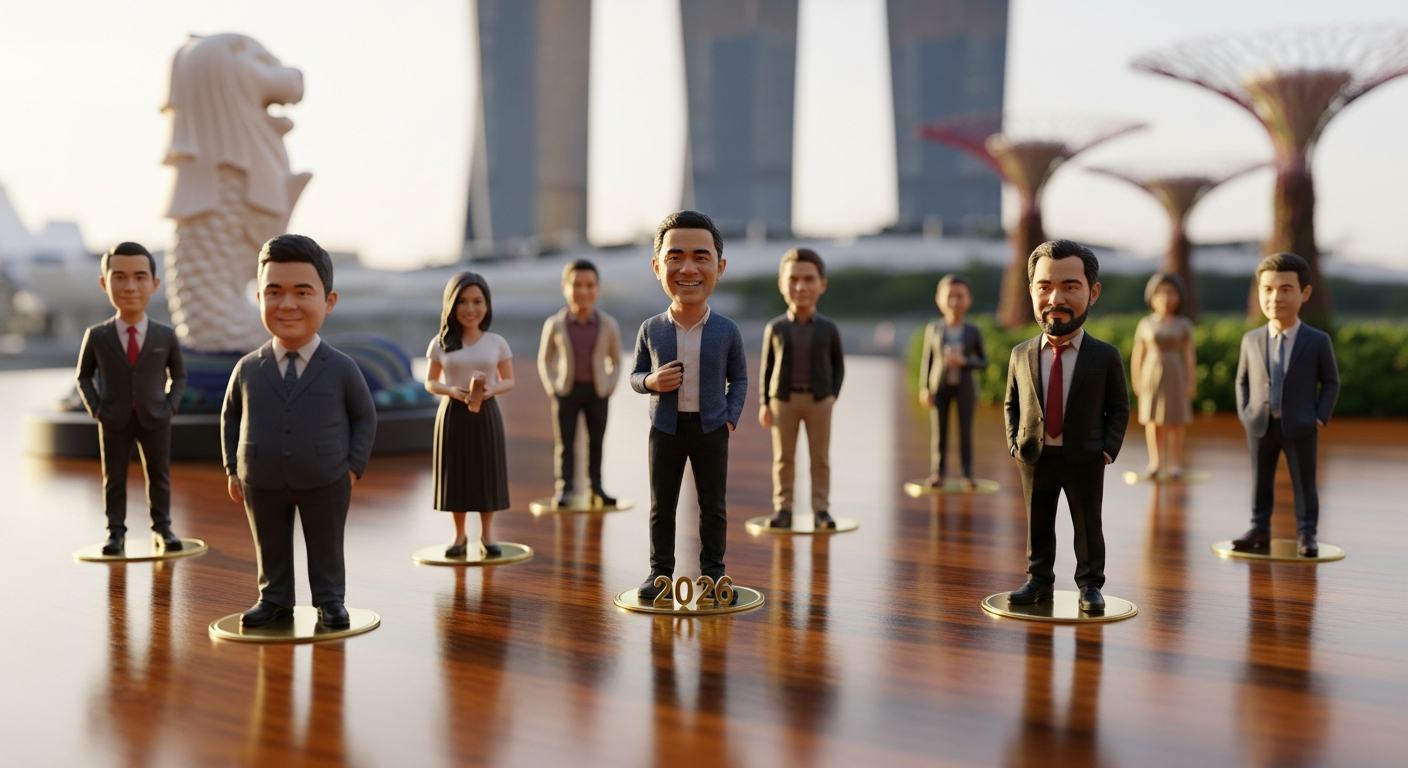
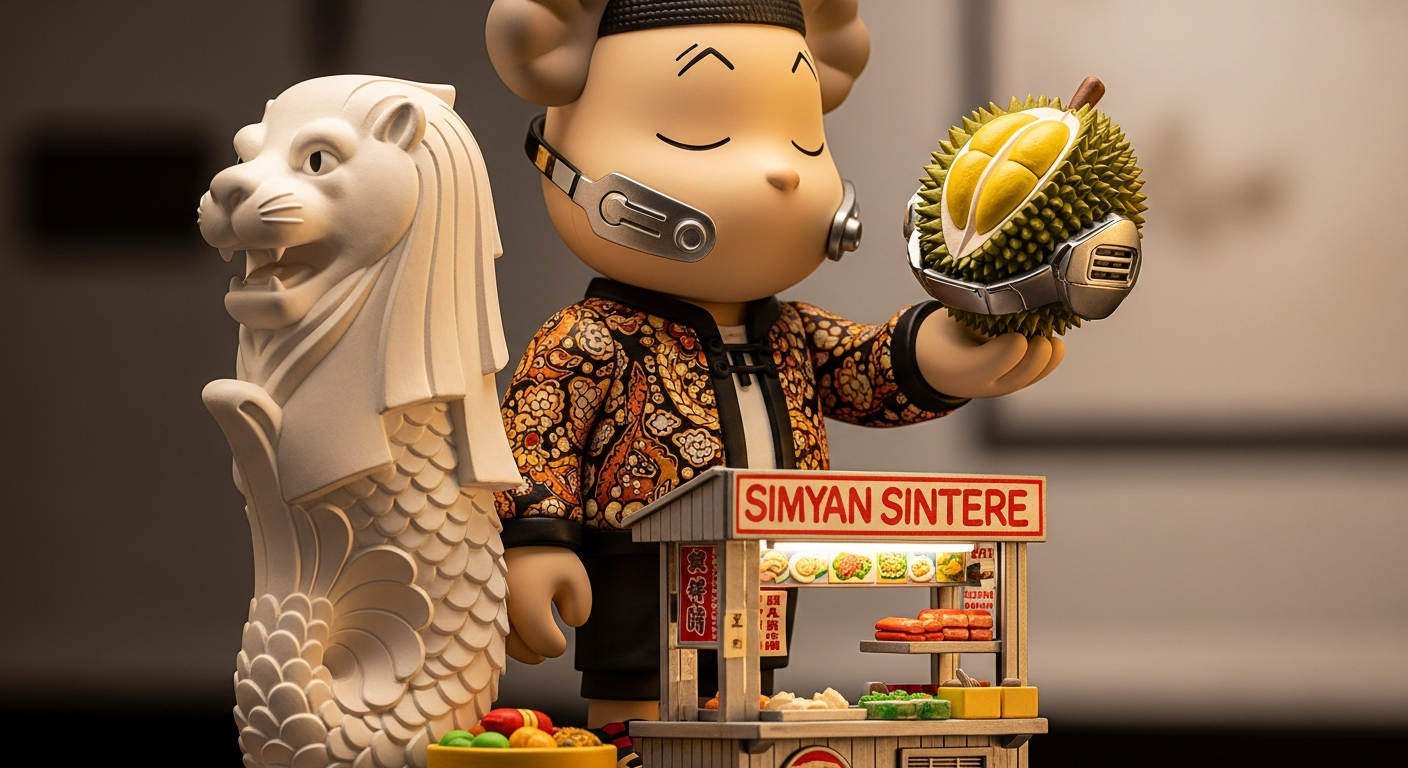
Malaysia and Singapore’s thriving maker community and numerous fabrication labs provide excellent resources for beginners exploring 3D printed collectibles. The city-state’s emphasis on innovation and technology adoption creates an ideal environment for learning these skills while connecting with fellow creators and enthusiasts.
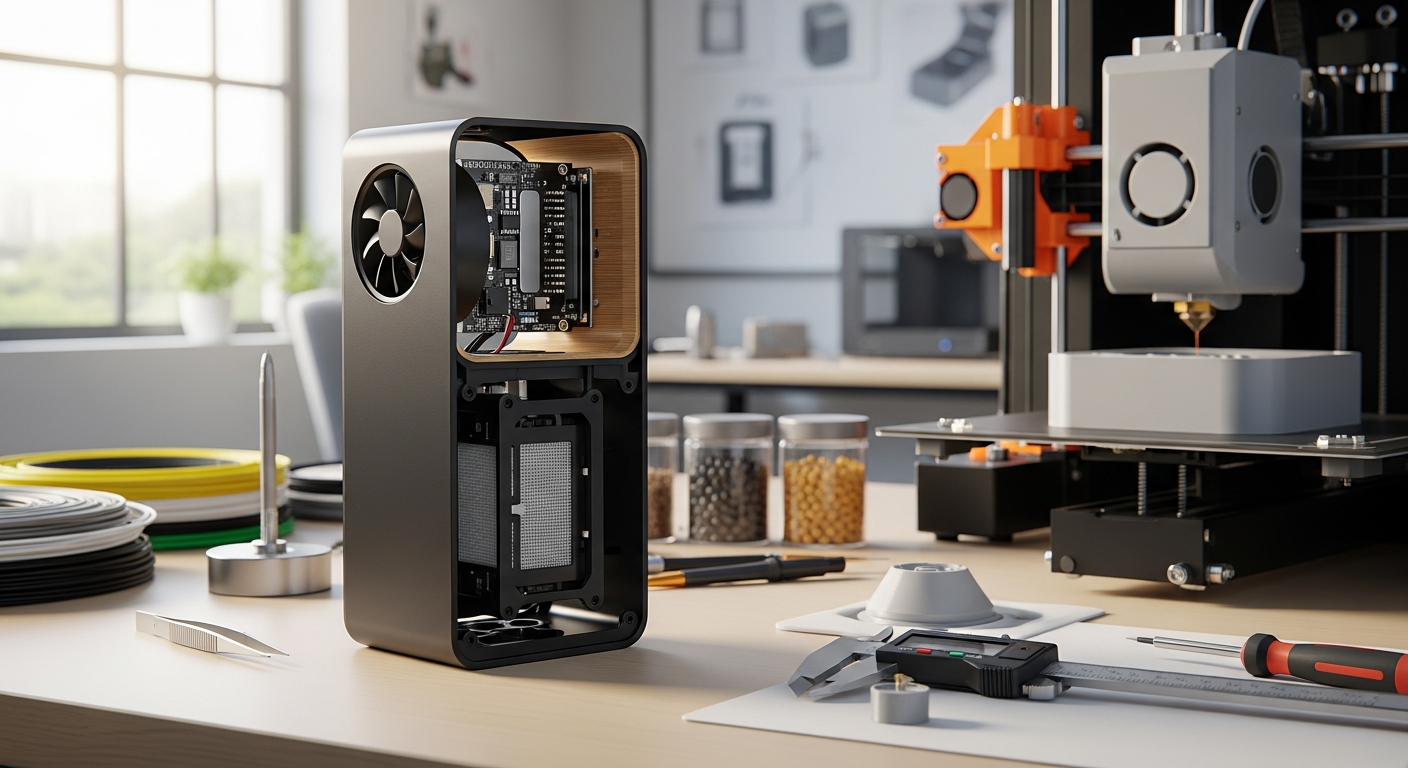
Resin 3D printing, specifically LCD-based printers, offers superior detail resolution essential for art toy production. These printers cure liquid photopolymer resin layer by layer using UV light, achieving surface quality and fine detail reproduction that rivals injection molding for small-scale production.
Fused Deposition Modeling (FDM) printers, while more affordable and accessible, present challenges for detailed art toy creation due to visible layer lines and limited resolution capabilities. However, recent advances in FDM technology and post-processing techniques have made acceptable results possible for larger figures or pieces where texture variation adds artistic value.
The choice between technologies depends on your budget, intended output quality, and production volume goals. Beginners often start with FDM for learning fundamentals before investing in resin systems for higher-quality results. Art Sou Studio exemplifies professional-grade 3D printing applications, demonstrating the exceptional quality possible with proper equipment and technique mastery.
Entry-level resin printers like the Elegoo Mars or Anycubic Photon series provide excellent starting points for art toy creation, offering sufficient build volume for most collectible sizes while maintaining affordability for hobbyist budgets. These machines typically cost between RM 600-1200/SGD 200-400 and include basic software for file preparation.
UV-curing resins come in various formulations optimized for different applications. Standard resins work well for most art toys, while tough or flexible resins suit pieces requiring durability or bendable elements. Water-washable resins simplify post-processing by eliminating isopropyl alcohol requirements, though they may sacrifice some detail resolution.
Safety equipment including nitrile gloves, safety glasses, respirator masks, and proper ventilation systems are non-negotiable requirements for resin printing. The chemicals involved can cause skin sensitization and respiratory irritation, making protective measures essential for safe operation.
Successful 3D printed art toys require design approaches that account for manufacturing limitations and opportunities unique to additive manufacturing. Wall thickness must be sufficient for structural integrity while minimizing material usage and print time. Generally, maintain minimum wall thickness of 1-2mm for standard resins.
Support structures become crucial considerations during design phase. Overhanging elements, hollow sections, and complex geometries require careful planning to ensure successful printing while minimizing support marks on visible surfaces. Designing with print orientation in mind reduces support requirements and improves surface quality.
Hollowing designs reduces material costs and print times while preventing internal stresses that can cause cracking. However, hollow sections require drain holes to allow uncured resin removal, which must be strategically placed to maintain aesthetic integrity while ensuring complete drainage.
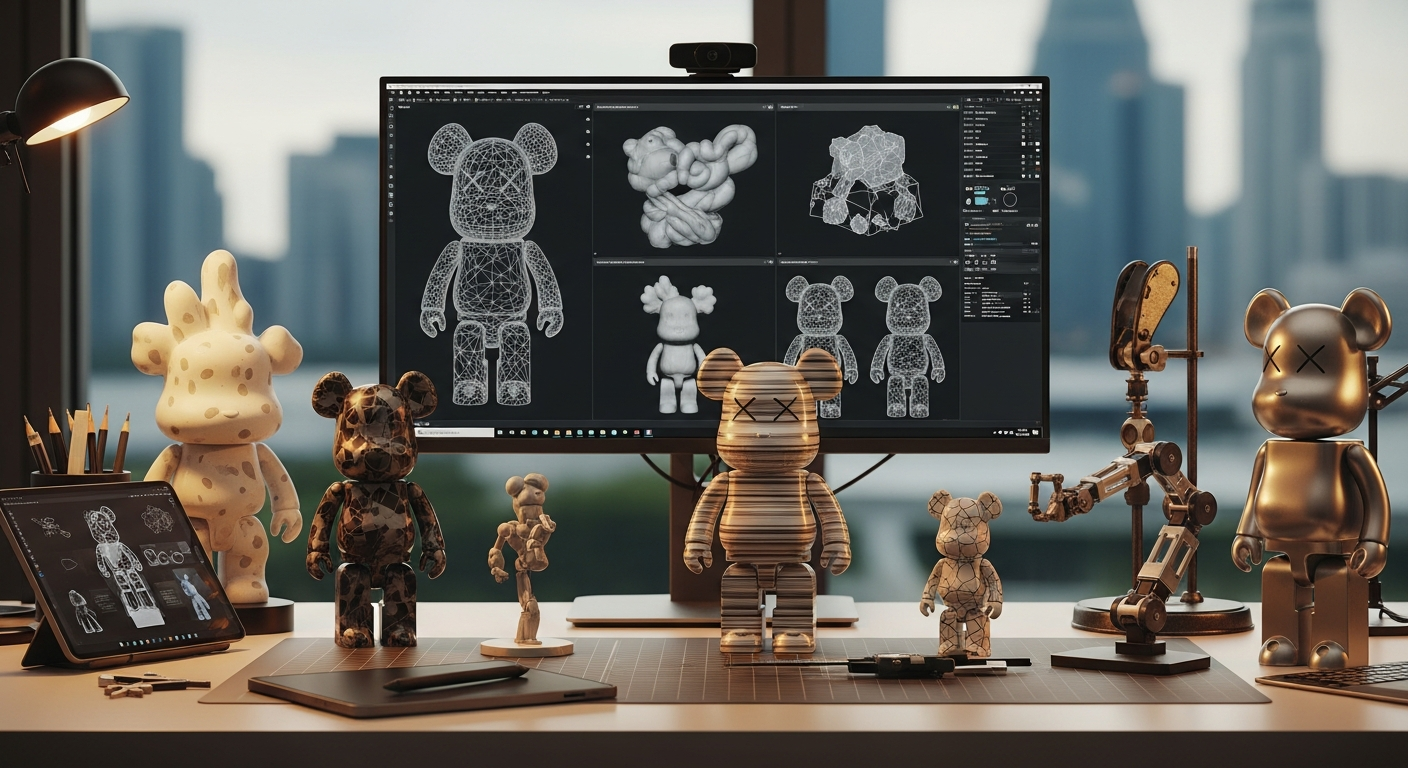
Blender provides powerful, free 3D modeling capabilities suitable for art toy creation, with extensive sculpting tools that excel at organic character design. Its steep learning curve is offset by abundant online tutorials and active community support, making it ideal for dedicated beginners willing to invest learning time.
ZBrush represents the industry standard for digital sculpting, offering intuitive tools that translate traditional sculpture techniques into digital workflows. While expensive, its capabilities for detailed character creation and surface texturing make it invaluable for serious art toy designers seeking professional results.
Fusion 360 bridges traditional CAD design with organic modeling capabilities, providing excellent tools for mechanical elements, joints, and precise geometric components often required in articulated figures. Its free personal license makes it accessible for hobbyist creators.
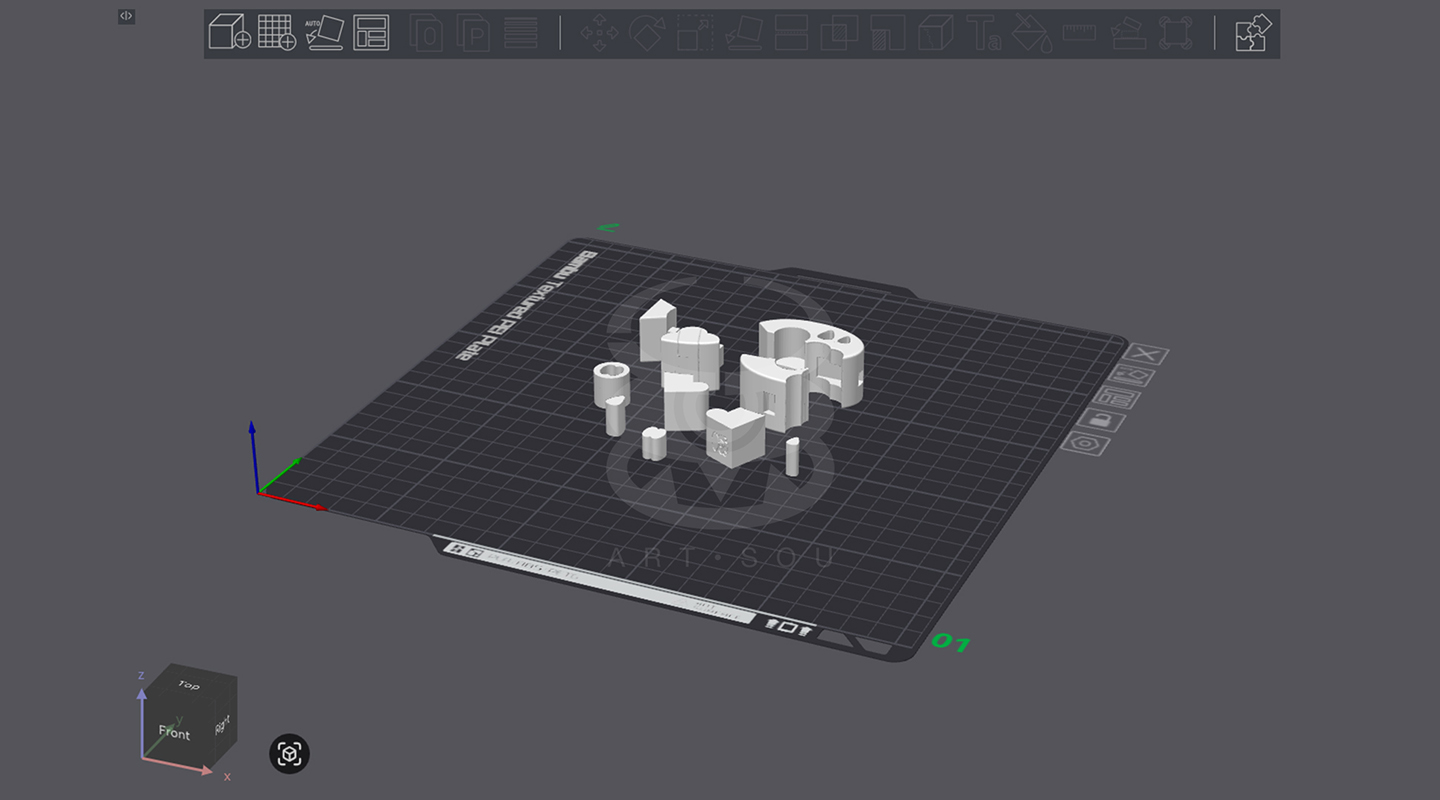
Slicing software translates 3D models into printer-readable instructions, making this step crucial for successful printing. ChiTuBox and Lychee Slicer offer specialized features for resin printing, including advanced support generation, hollowing tools, and exposure optimization.
Layer height selection balances print quality against time requirements. Thinner layers (0.02-0.05mm) produce smoother surfaces essential for detailed art toys, while thicker layers (0.1mm) reduce print times for less detailed sections or prototyping purposes.
Support placement requires strategic thinking to minimize surface damage while ensuring successful printing. Automatic support generation provides starting points, but manual adjustment often improves results by moving supports to less visible surfaces and optimizing connection points.
Orientation optimization significantly impacts print quality and success rates. Position models to minimize support requirements on visible surfaces while ensuring proper drainage for hollow sections. Test different orientations using slicing software preview functions to identify optimal positioning.
Island detection tools identify floating geometry sections that lack proper support connections, preventing print failures and material waste. Address islands by adding supports, modifying geometry, or adjusting orientation to eliminate problematic areas.
Resin exposure settings require calibration for each printer and material combination. Use calibration prints to determine optimal exposure times that balance detail resolution with proper layer adhesion, documenting successful settings for future projects.
Workspace preparation ensures safe, efficient printing operations. Establish dedicated areas with proper ventilation, chemical storage, and spill containment measures. Organize tools, materials, and safety equipment for easy access during printing and post-processing operations.
Printer calibration includes bed leveling, screen functionality checks, and FEP film inspection for damage or cloudiness that could affect print quality. Regular maintenance prevents failures while ensuring consistent results across multiple projects.
File verification through slicing software preview identifies potential problems before committing materials and time to printing. Check support adequacy, verify proper model positioning, and confirm layer adhesion throughout the build height.
Print monitoring during initial layers proves crucial for success, as adhesion failures typically occur within the first few layers. Most modern printers include pause functions that allow intervention if problems develop early in the printing process.
Common failure modes include adhesion problems, support failures, and exposure issues that cause under-curing or over-curing. Understanding these failure patterns helps identify problems quickly and implement corrections for future prints.
Temperature and humidity control affects resin behavior and print quality. Malaysia and Singapore’s tropical climate requires attention to environmental conditions, potentially necessitating air conditioning or dehumidification for consistent results.
Cleaning removes uncured resin from printed surfaces using isopropyl alcohol or specialized cleaning solutions. Multiple wash stages with fresh solution ensure complete removal, preventing tackiness and improving surface quality for painting or finishing.
UV curing completes the polymerization process, transforming tacky, fragile green prints into hard, durable finished pieces. Curing times vary by resin type and part thickness, typically ranging from 2-10 minutes under appropriate UV light sources.
Support removal requires careful technique to minimize surface damage. Use flush cutters for initial removal followed by sanding or filing to eliminate remaining marks. Plan support placement during design phase to minimize finishing work on visible surfaces.
Sanding progression using increasingly fine grits removes layer lines and support marks while preparing surfaces for painting or other finishing treatments. Start with 220-400 grit for major imperfections, progressing through 800-2000 grit for smooth finishes.
Chemical smoothing using acetone vapor or specialized smoothing solutions can eliminate layer lines on compatible resins, though this technique requires careful control to avoid over-smoothing that loses fine details.
Primer application provides uniform surfaces for painting while highlighting remaining imperfections that require additional attention. Automotive primers work excellently for art toys, offering excellent adhesion and easy sanding characteristics.
Base coating with appropriate primers ensures paint adhesion and color accuracy. Light colors require white primers, while dark finishes benefit from gray or black bases that prevent color shifting and improve coverage uniformity.
Acrylic paints provide excellent results for art toys, offering good adhesion, easy cleanup, and wide color availability. Thin multiple coats rather than single thick applications to maintain detail definition while achieving solid color coverage.
Detail work using fine brushes, markers, or airbrush techniques adds character and personality to finished pieces. Study reference materials and practice techniques on test pieces before applying to final projects.
Clear coating protects painted surfaces while providing desired finish characteristics. Matte coats reduce reflections for realistic effects, while gloss finishes enhance color vibrancy and provide easy cleaning surfaces.
Assembly techniques for multi-part figures include mechanical fasteners, adhesives, or magnetic connections. Plan joint locations during design phase to ensure proper fit and function while maintaining aesthetic integrity.
Quality control inspection identifies imperfections requiring correction before considering pieces complete. Develop consistent standards and inspection procedures to ensure professional results that reflect well on your creative abilities.
Art Sou Studio demonstrates how professional finishing techniques can elevate 3D printed art toys to gallery-worthy standards, showing the potential for independent creators to achieve exceptional results through careful attention to process details and finishing quality.
A: For high-quality art toys, aim for 0.025-0.05mm layer heights on resin printers. This resolution captures fine details like facial features, textures, and small decorative elements while maintaining reasonable print times. FDM printers struggle with art toy details due to 0.1-0.2mm typical layer heights.
A: Material costs typically range from RM 9-24/SGD 3-8 for a 6-inch hollow figure, depending on resin type and model complexity. Factor in electricity, wear items (FEP film, screens), and time investment. Initial equipment costs (RM 900-3000/SGD 300-1000 for entry-level setup) amortize over many projects.
A: Always wear nitrile gloves, safety glasses, and respirator masks when handling uncured resin. Ensure adequate ventilation or use enclosed printing chambers. Store resins safely away from children and UV light. Clean spills immediately and dispose of waste materials according to local regulations.
A: Yes, for original designs you create or have proper licensing for. Avoid printing copyrighted characters without permission. Consider intellectual property protections for your original designs. Malaysia and Singapore’s IP laws protect creators while enabling legitimate commercial activities for original works.
Discover inspiration from Art Sou Studio’s innovative approach to 3D printed art toys, where young artists push creative boundaries using cutting-edge manufacturing technology.